

Last updated: September 15, 2026
Step-by-step instructions for administrators deploying and setting up ShArc in their own Azure tenant.
Introduction
This guide provides step-by-step instructions for deploying and setting up ShArc.
ShArc is hosted entirely within your own Azure tenant and requires the following Azure resources:
- Azure App Registration: Used for authentication.
- Azure File Handler App Registration: Used by SharePoint to handle offloaded files.
- Azure Storage Account: Serves as the storage for offloaded files.
- Azure App Service and App Service Plan: Hosts the web application.
Download the Installation Package
Download ShArc installation package
Please note that the package is password-protected. Please do not hesitate to get in touch with us if you want to try ShArc in your environment.
Setup Requirements
To deploy ShArc, the following files are required:
| Name | Description | Notes |
|---|---|---|
| Install-Sharc.ps1 | Installation Script | This PowerShell script installs all necessary components of the system, such as the App Registration, the File Handler, the Azure Storage Account and the App Service. |
| ApiAccessManifest.json | Permissions for App Registrations | This JSON file contains the permissions for the App Registration and is used by the installation script. |
| FileHandlerManifest.json | Manifest for the File Handler | This JSON file is a template used by the installation script to install the File Handler. |
| FileHandlerIcons.json | Icons for the File Handler | This JSON file is a template containing the file icons for the File Handler. It is also used by the installation script. |
| FileHandlerActions.json | Actions for the File Handler | This JSON file contains the actions that the File Handler can perform and how to perform them. It is used by the installation script. |
| sharc-iac.json | ARM Template for Azure Resources | This ARM template defines all Azure resources that need to be deployed and configured for ShArc. It is deployed by the installation script. |
- Global Administrator access is required to create Azure App Services and grant permissions during the App Registration process.
Installation
1. Open Azure Cloud Shell
Open Azure Cloud Shell.
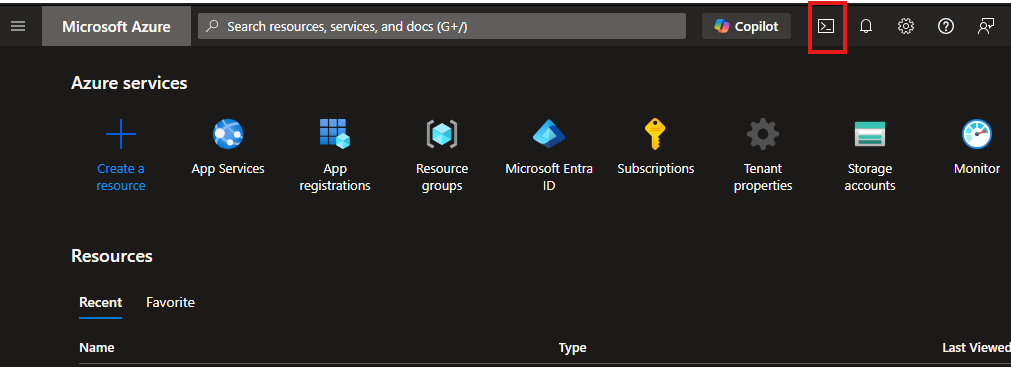
Note: If you are asked which shell you want to start, choose PowerShell.
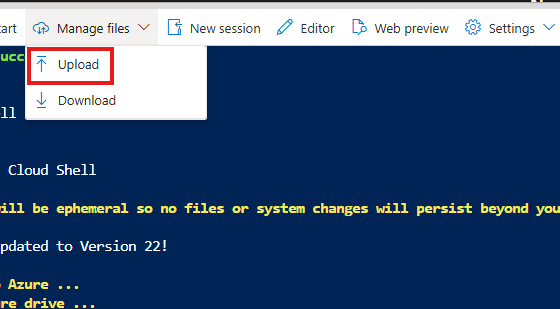
2. Upload the Installation Files
Upload Install-Sharc.ps1 and all JSON files included in the installation package.
3. Start the Installation Script
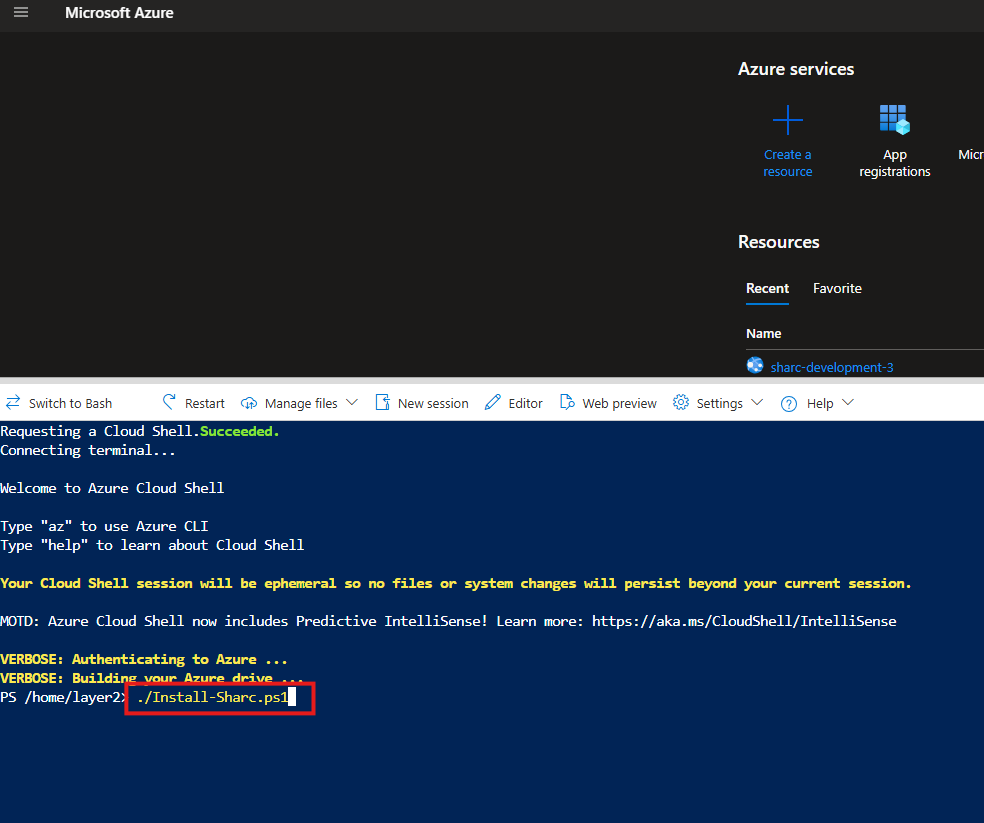
Run the following command:
.\Install-Sharc.ps1
The default script mode is Install. It installs everything required for ShArc, including the App Registrations and Azure resources.
Notes
Make sure that the Azure Blob Storage permissions prohibit changes to the content as well as to any Blob metadata to ensure that no manipulation is possible. Only the Global Administrator needs to have access to the Blobs for ShArc to work properly.
Updating ShArc
For information about application and infrastructure updates, please refer to Update ShArc.